

Key Takeaways
- Your vehicle's correct tire pressure is on the door jamb sticker, not the tire sidewall.
- Tires naturally lose about 1 PSI per month, so monthly checks are a sound habit.
- Temperature swings cause pressure to change - cold weather drops PSI, warm weather raises it.
- Both under- and over-inflation reduce traction, increase wear, and hurt fuel economy.
- Check pressure when tires are cold, before driving more than a mile or two.
What you will need
Why Tire Pressure Is More Consequential Than Most Drivers Think
Tire pressure - measured in PSI - is one of the few maintenance items that affects safety, fuel economy, and tire longevity simultaneously. Yet surveys consistently show a significant share of vehicles on American roads are running on improperly inflated tires, often without the driver even realizing it.
Under-inflated tires flex more as they roll, generating excess heat that accelerates tread wear and can lead to a blowout at highway speed. Over-inflated tires reduce the contact patch between rubber and pavement, degrading grip and making the ride harsher. The U.S. Department of Energy has noted that keeping tires at the correct pressure is one of the simplest steps drivers can take to improve fuel efficiency. For a deeper look at how pressure directly influences stopping distance and handling, see how tire pressure affects safety and gas mileage.
Don't Rely Solely on the TPMS Light
Most vehicles sold in the U.S. since 2008 include a Tire Pressure Monitoring System (TPMS) that illuminates a dashboard light when a tire falls roughly 25% below the recommended pressure. By the time that light activates, your tires are already meaningfully underinflated. TPMS is a backup alert, not a substitute for regular manual checks.
Tires also lose pressure simply by sitting - about 1 PSI per month under normal conditions, and roughly 1 additional PSI for every 10°F drop in ambient temperature. That means a tire properly inflated in summer can be noticeably underinflated by midwinter without ever developing a leak.
What You Need Before You Start
Checking tire pressure requires minimal equipment and no mechanical skill. Gather the following before you begin.
What you will need
Tire pressure gauge
Measures the current PSI inside each tire so you can compare it to the vehicle's recommended pressure.
Air compressor or portable inflator
Adds air to a tire that is below the target PSI.
Pen and notepad (or phone)
Records readings from each tire so you can track trends over time.
How to Check and Adjust Your Tire Pressure
Follow these steps in order. The entire process takes under 15 minutes for all four tires - plus the spare if your vehicle carries one.
Check your tires while they are cold
Park your vehicle somewhere level and let it sit if you've driven more than a couple of miles. Tire pressure readings rise as tires heat up from friction - a warm tire can read 4-6 PSI higher than its true cold pressure, which will cause you to underinflate it. First thing in the morning before the day's first drive is ideal.
Locate your vehicle's recommended PSI
Open the driver's door and look for the placard sticker on the door jamb. It lists the recommended front and rear tire pressures in PSI. Write these numbers down. Do not use the maximum PSI stamped on the tire sidewall as your target.
Remove the valve stem cap and take a reading
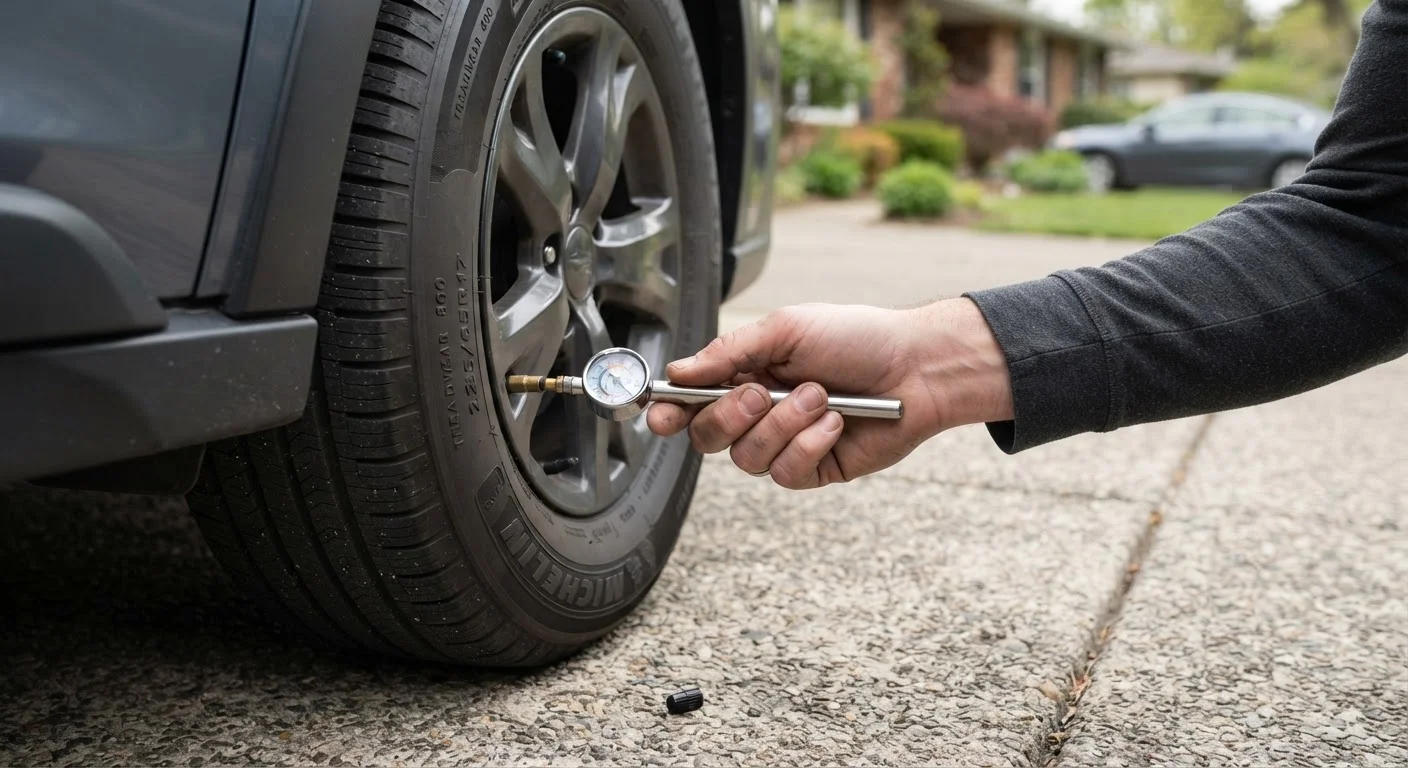
Locate the valve stem - the short rubber or metal nub protruding from the inner edge of the wheel. Unscrew the small cap counterclockwise and set it somewhere you won't lose it. Press the open end of your gauge firmly and straight onto the valve stem. A hissing sound means the gauge isn't fully seated - reposition and try again. Read the PSI displayed and note it.
Add or release air as needed
If the reading is below the target PSI, connect your air source and add air in short bursts, checking frequently. If the reading is above target, use the small pin on the back of most gauges (or a pen cap) to briefly depress the valve core and release air in small increments, checking between each release. Aim to land within 1-2 PSI of the recommended figure.
Replace the valve cap and repeat for all tires
Hand-tighten the valve cap back onto the stem - it keeps out moisture and debris. Move to each remaining tire and repeat Steps 3 and 4. Check the spare tire as well if your vehicle carries a full-size or compact spare; a flat spare is useless in an emergency.
Once you're comfortable with the routine, consider pairing this habit with other quick monthly checks. Car maintenance myths that cost drivers money explains which tasks are genuinely necessary versus which ones you can safely skip.
Reading the Numbers Correctly
A common source of confusion is where to find the correct PSI figure. The maximum pressure number molded into the tire sidewall is not your target - it is the ceiling the tire can physically handle, and inflating to that number typically overinflates the tire for normal use. The number you want is on the vehicle placard, a sticker usually found on the driver's door jamb or, less commonly, inside the fuel-filler door or glove compartment.
Front and rear tires sometimes call for different pressures, so check both figures. If you've recently changed to a different tire size or load rating than the factory original, consult a tire professional to confirm the appropriate pressure. To understand the full string of markings on your sidewall, learn what the numbers on your tires mean.
Build a Simple Monthly Habit
Tie your tire pressure check to something you already do regularly - the first of each month, every oil change, or every third fill-up. Consistency matters more than precision timing. Drivers who check monthly are far less likely to be operating on significantly under-inflated tires than those who check only when a warning light appears.