

Key Takeaways
- Most caulk failures trace back to surface prep, not the caulk formula itself.
- Applying caulk over moisture or old residue is one of the most common - and costly - mistakes.
- Matching the right caulk type to the right location dramatically extends its lifespan.
- Tooling the bead and allowing proper cure time are often skipped steps that undermine adhesion.
- Joints that move need flexible caulk; rigid fillers crack under normal structural movement.
Why Caulk Fails Faster Than It Should
If your caulk is peeling, cracking, or growing mildew within a few months, the frustrating truth is that the problem likely started before the tube was ever opened. Caulk is a surface sealant - its entire job depends on clean, dry, compatible surfaces and the right conditions during application. When any of those factors are off, even a quality product will fail prematurely.
Understanding the most common mistakes can save you from repeating the same repair cycle every season. As we cover in our guide on bathroom grout and caulk maintenance, moisture-related failures are especially costly because water damage compounds quietly behind walls before you ever see it.
Applying caulk over an existing layer without removing the old material first.
Why it happens: Removing old caulk is tedious, and a fresh bead on top seems like a quick fix. Many homeowners assume the new layer will bond to and seal over the old one.
Caulking a surface that isn't fully dry.
Why it happens: After cleaning a tub surround or wiping down a windowsill, surfaces can look dry while still holding moisture in porous grout, caulk tracks, or wood grain.
Using the wrong type of caulk for the location or material.
Why it happens: Caulk looks similar across product types, and many homeowners assume any caulk is interchangeable. A tube labeled 'paintable' might be perfect for trim but completely wrong for a wet shower joint.
Caulking over a joint that actually needs to flex under movement.
Why it happens: Homeowners often treat every gap the same, not realizing that some joints - like the seam between a tub and the wall - shift as weight is applied and released with each use.
Skipping surface priming on porous or problem substrates.
Why it happens: Priming before caulking feels like an extra step that most instructional videos skip, so many DIYers don't know it's ever necessary.
Not tooling the bead after application, leaving air pockets or uneven coverage.
Why it happens: It's tempting to stop after laying the bead, especially if it looks clean. Smoothing seems cosmetic rather than functional.
Getting It Right From the Start
Good caulking technique isn't complicated, but it does require patience at every stage. The steps most people skip - thorough cleaning, complete drying, old caulk removal, and adequate cure time - are precisely the ones that determine whether a seal lasts one year or ten.
Never Caulk Over Mold or Mildew
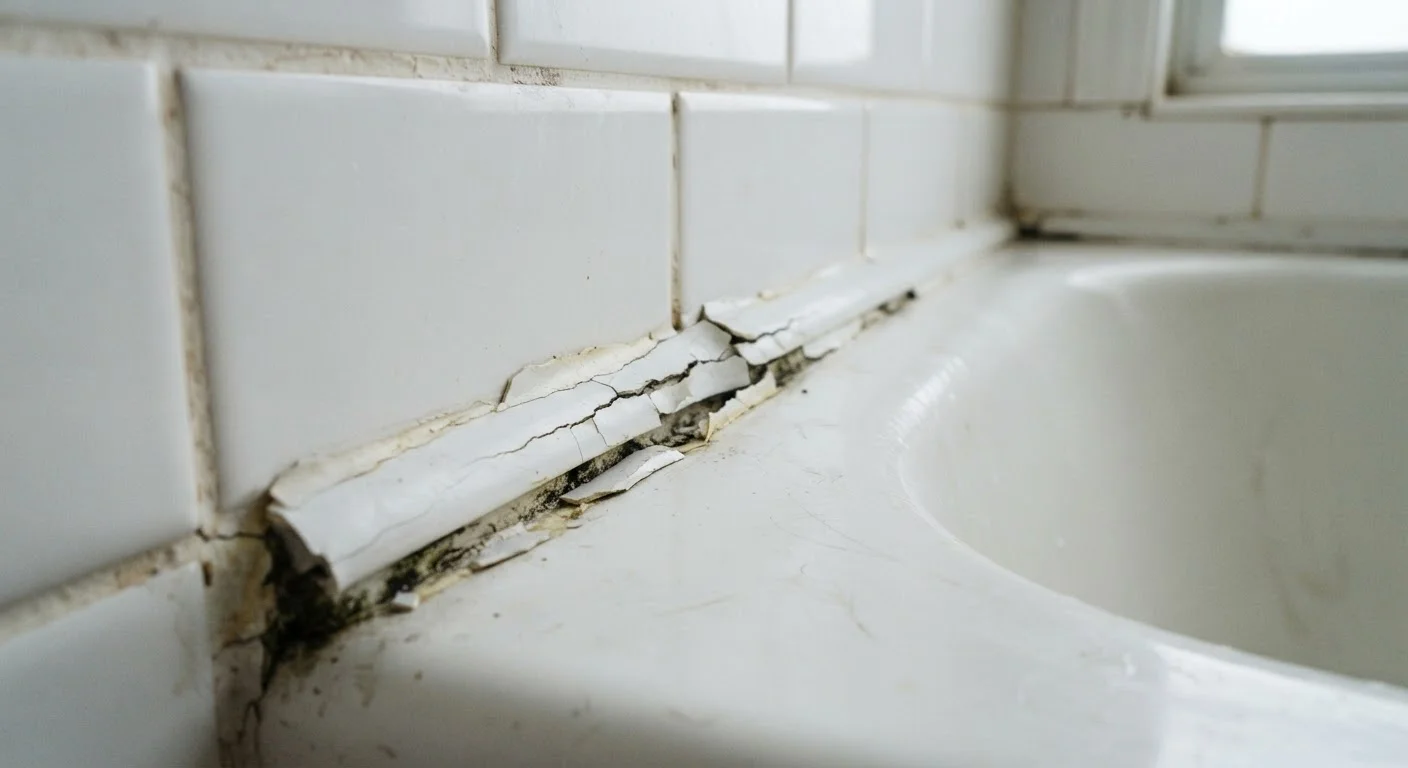
If you see dark staining in an old caulk joint, do not simply caulk over it. Mold sealed beneath fresh caulk will continue to grow and will eventually compromise the new seal - and potentially spread into surrounding materials. Treat any mold thoroughly with an appropriate cleaner, allow the surface to dry completely, and confirm the mold is gone before resealing. If mold has penetrated grout, tile backer board, or drywall, consult a professional before proceeding.
Before you apply fresh caulk anywhere in your home, check that the joint actually calls for caulk rather than a different solution. For areas around doors and windows where drafts are the concern, our article on when to use caulk versus weatherstripping can help you choose the right approach. Similarly, if you're working near drywall or patched surfaces, review when a drywall patch is enough before sealing over any repairs.
It's also worth revisiting broader home maintenance assumptions. Some widely shared advice - like assuming any sealant will do anywhere - can actually accelerate damage rather than prevent it, as outlined in our piece on common home maintenance myths.
Once your surface is properly prepared and you've chosen the right caulk for the location, cut the tube tip at a shallow angle (roughly 45 degrees), apply steady pressure, and use a dampened finger or caulk tool to smooth the bead in a single pass. Then - critically - leave it alone. Most caulk needs at least 24 hours before water exposure, and some silicone formulas require 48 to 72 hours for a full cure.
Don't Rush the Cure Time
Using a shower, running water in a freshly caulked sink, or painting over new caulk before it has fully cured is one of the most reliable ways to cause an early failure. Even if the surface feels dry to the touch within a few hours, the caulk may not have developed its full bond strength. Follow the time specified on the product label - not a general estimate - since cure times vary significantly by formula, humidity, and temperature.