

Key Takeaways
- Holes smaller than roughly six inches in diameter are generally safe territory for a DIY patch.
- Water stains require finding and fixing the moisture source before any cosmetic repair begins.
- Diagonal cracks near doors or windows may indicate structural movement - consult a professional.
- Good surface prep and a coat of primer are what make a patch truly disappear under paint.
- Texture matching is often the hardest part of drywall repair; practice on scrap before committing.
What you will need
Sizing Up the Damage: What You're Actually Dealing With
Before you reach for a putty knife, take a few minutes to honestly assess what's in front of you. Drywall damage generally falls into four categories, and each one has a different threshold for when DIY makes sense.
Nail holes and dents
Small punctures from picture hooks, nails, or doorknob dings - anything roughly the size of a pencil eraser or smaller - are the easiest repairs you'll encounter. A dab of lightweight spackle, a smooth pass with a putty knife, light sanding once dry, and a coat of primer is all it takes. No special tools required.
Small to mid-size holes (up to about 6 inches)
This includes holes from doorknob strikes, removed anchors, or accidental impacts. Patches in this range are well within DIY territory. Our step-by-step patching guide walks through the specific methods - mesh patch kits for smaller openings, California patches or backer boards for larger ones - so you can match your approach to the size of the hole.
Cracks
Hairline cracks from settling are common and usually cosmetic. Fill them with joint compound, tape if the crack is more than a surface scratch, sand, and prime. However, cracks that are wider than about 1/8 inch, run diagonally from the corners of doors or windows, or keep returning after repair may point to foundation movement or structural stress. In those cases, patching the wall without understanding the underlying cause just delays the problem. A structural engineer or experienced contractor should evaluate recurring or wide cracks before you cover them up.
Water stains and soft spots
A yellowed ring or bubbled paint surface almost always means water got in - from a roof leak, plumbing drip, or condensation. The cosmetic fix is simple, but it's the last thing you should do, not the first. Patching over active or recent moisture traps the problem behind fresh drywall, leading to mold growth and repeated damage. See our guide to identifying water damage early before picking up a brush. Only once the source is confirmed fixed and the area is fully dry should you make the repair.
Stop Before You Patch Over a Water Stain
A stain that looks dry on the surface may still have moisture trapped behind the drywall. Touch the area - if it feels soft, cool, or at all spongy, the drywall is still compromised and needs to be cut out, not patched over. Sealing wet drywall creates ideal conditions for mold growth, which is far more costly and disruptive to address later.
Tools, Materials, and the Steps to Follow
Once you've confirmed the damage is in DIY territory, gather your supplies and follow a clean process. Rushing any stage - especially drying time - is the most common reason patches look patchy.
What you will need
Lightweight spackle or joint compound
Fills the hole or crack and builds up flush with the surrounding wall surface.
Putty knife (4-6 inch)
Spreads and smooths the compound over the repair area.
Self-adhesive mesh patch kit
Provides a backing and reinforcement for holes roughly 2-6 inches in diameter.
Fine-grit sanding sponge (120-220 grit)
Feathers the dried compound smooth so the patch blends with the wall.
Drywall primer
Seals the compound so topcoat paint adheres evenly and doesn't flash differently from the surrounding wall.
Stain-blocking primer (shellac or oil-based)
Prevents water stains from bleeding through fresh paint on repaired areas.
Clean and prepare the damaged area
Remove any loose paper, crumbling gypsum, or debris from around the hole or crack. Use a utility knife to trim away torn drywall facing paper - raised edges will telegraph through your finished repair. For water-stained areas, apply a stain-blocking primer to the affected surface and let it dry completely before adding any compound.
Apply backing or mesh (for holes larger than a thumbprint)
For holes up to about 4 inches, a self-adhesive mesh patch pressed firmly over the opening gives the compound something solid to bond to. For holes between 4 and 6 inches, cut a piece of drywall slightly larger than the hole, score the back, and use it as a California patch - or cut a clean square opening and attach a wood backer strip behind the wall so you can screw in a matching drywall piece flush with the surface.
Apply the first coat of joint compound
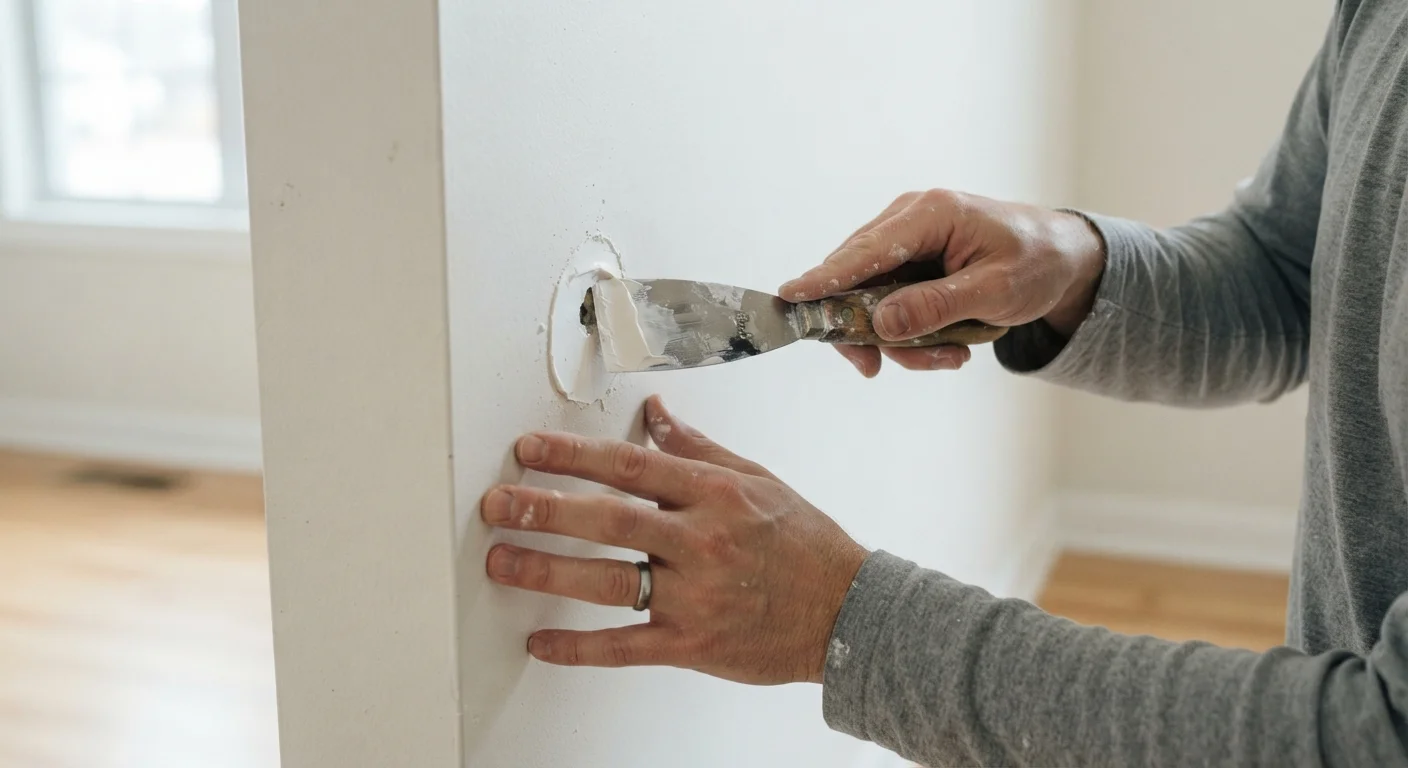
Load a modest amount of lightweight joint compound onto your putty knife and spread it over the patch or into the crack, pressing firmly to fill voids. Feather the edges outward 2-3 inches beyond the damaged area. Aim for thin and even rather than thick - thick coats crack as they dry. Let this coat dry fully according to the product label, which typically means several hours or overnight.
Sand, check, and apply additional coats as needed
Once the first coat is dry, sand lightly with a fine-grit sanding sponge. Run your hand across the surface - you should feel a gradual, unnoticeable transition from patch to wall. Most repairs need two to three thin coats, with light sanding between each. Wipe away dust with a slightly damp cloth before applying the next coat.
Prime, then paint
Apply a coat of drywall primer to the repaired area before painting. This step is non-negotiable: bare joint compound is porous and absorbs paint unevenly, causing a dull, flat spot called flashing even when the color matches perfectly. Once the primer is dry, paint the patch - and ideally the full wall surface - for the most consistent result.
Match Your Compound to the Job
Lightweight spackle dries faster and sands easily - ideal for nail holes and small dents. All-purpose joint compound is better for larger patches because it bonds well to mesh and tape. Avoid using setting-type compound (the kind that chemically hardens) unless you have experience with it; it sets quickly and doesn't sand as forgivingly as the standard air-dry type.
If after completing your repair you're still weighing whether future projects belong in your hands or a contractor's, the framework in DIY Home Repairs vs. Hiring a Pro can help you think it through clearly. And if you do reach the point of calling someone in, knowing what to ask a contractor upfront protects both your budget and your home.