

Key Takeaways
- Arrive at the airport at least 90 minutes before domestic flights to allow enough time for security.
- TSA's 3-1-1 liquids rule limits containers to 3.4 oz or less, packed in a single quart-sized bag.
- Trusted Traveler programs like TSA PreCheck can significantly reduce your time in the security line.
- Removing electronics and jackets before reaching the bin area speeds up the screening process.
- REAL ID-compliant identification is required for domestic air travel at TSA checkpoints.
What you will need
What to Know Before You Reach the Checkpoint
Airport security in the United States is managed by the Transportation Security Administration (TSA). Whether you're a first-time flyer or someone who travels occasionally, understanding the process ahead of time removes a significant amount of uncertainty. If you're brand new to air travel, our beginner's guide to flight logistics covers everything from booking to landing.
Before you even leave for the airport, make sure your ID is in order. As of May 2025, TSA requires either a REAL ID-compliant driver's license, a U.S. passport, or another accepted federal or state-issued photo ID for domestic flights. Check with your state's DMV or the TSA website to confirm whether your current license qualifies. For international travel, always carry your passport - and verify any entry requirements well in advance using our guide to passport and visa requirements.
Packing smart before you arrive matters just as much. TSA's 3-1-1 liquids rule means all liquids, gels, and aerosols must be in containers of 3.4 ounces (100 ml) or less, all fitting in a single, clear, quart-sized zip-top bag - one bag per traveler. This bag must come out of your carry-on and go in a bin separately. If you're unsure how to organize your bag, our carry-on vs. checked baggage guide can help you pack in a way that sails through screening.
What you will need
How to Move Through Security Step by Step
Once you're at the airport, the security process follows a predictable sequence. Knowing each stage helps you stay calm and avoid slowing down the line - which benefits everyone around you too.
Join the correct security line
Look for signage directing travelers to the standard lane, TSA PreCheck lane, or CLEAR lane. If you're not enrolled in a Trusted Traveler program, follow signs for the general screening queue. Have your boarding pass and ID in hand before you reach the TSA officer - digging through your bag at that moment slows everything down.
Present your ID and boarding pass
Hand your ID and boarding pass to the TSA officer at the document check station. They will verify your identity and scan or review your boarding pass. This is a straightforward step - just make sure the name on your ID matches the name on your boarding pass exactly.
Prepare your belongings before reaching the bins
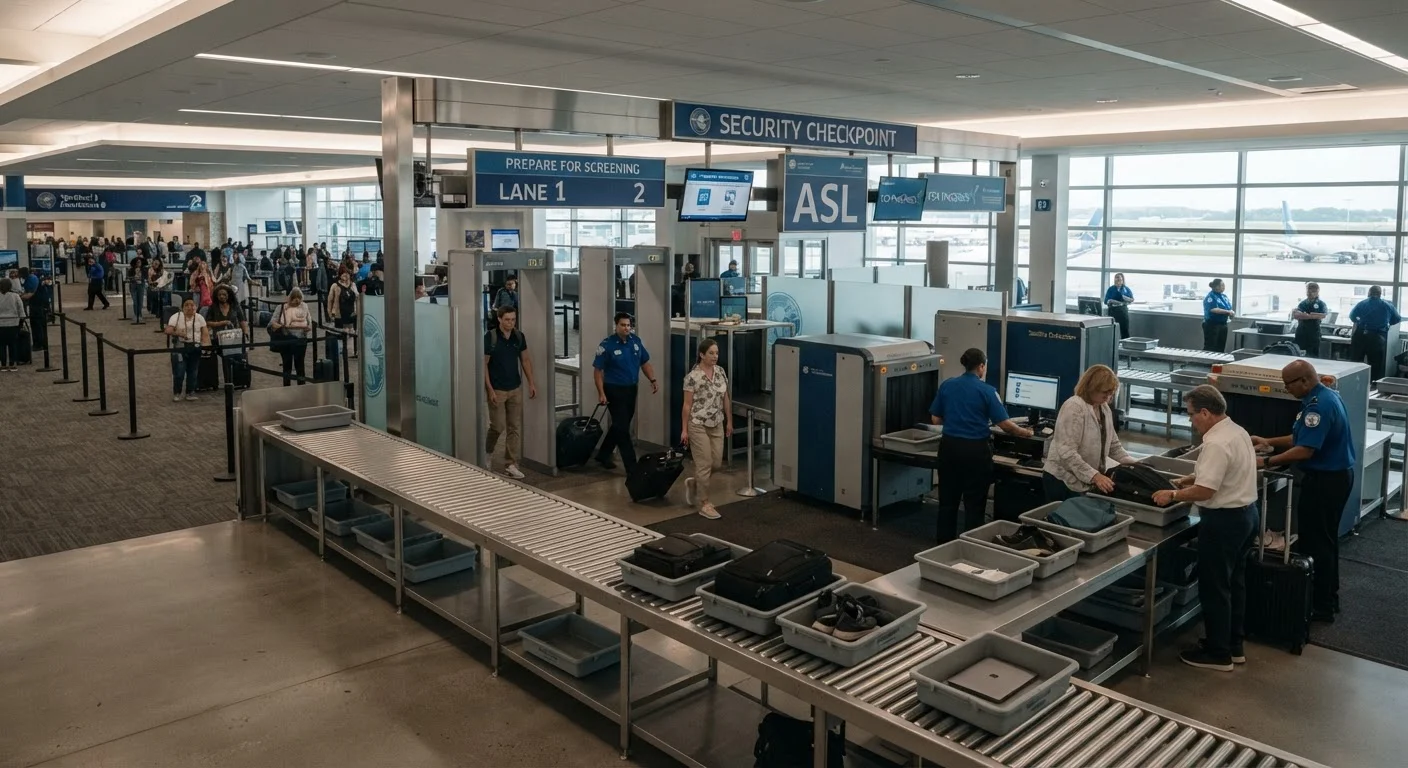
While waiting in line, begin organizing your items. Remove your jacket, belt, and shoes (unless you have PreCheck). Take your laptop and any large electronics out of your bag and set them aside. Pull your quart-sized liquids bag out of your carry-on. This preparation, done while you're still in line, keeps the bin area moving efficiently.
Load your items into bins and send them through
Place shoes, jackets, belts, and your liquids bag in one bin. Put your laptop and large electronics in a separate bin flat, with nothing on top of them. Slide your carry-on bag and personal item onto the belt. Push all bins forward when the line moves, then walk through the body scanner when directed by a TSA officer.
Walk through the scanner and collect your belongings
Step into the millimeter-wave scanner (the upright pod) when instructed, raise your hands above your head briefly, and wait for clearance. If an officer waves you through a metal detector instead, simply walk through. After clearing the scanner, collect all your bins and move to a nearby bench or open area to reassemble your bag - not at the end of the belt where others are waiting to collect theirs.
Arrive With Enough Time
TSA recommends arriving at least 90 minutes before a domestic flight and two to three hours before an international flight. Security wait times vary by airport, season, and time of day. Checking your airport's TSA wait time tool or your airline's app before you leave can give you a realistic sense of what to expect.
Trusted Traveler Programs and What They Offer
If you fly several times a year, enrolling in a Trusted Traveler program is worth looking into. These are government-run programs that allow pre-vetted travelers to use expedited security lanes.
- TSA PreCheck allows eligible travelers to keep their shoes, belt, and light jacket on, leave laptops and compliant liquids in their bags, and use a dedicated, typically shorter lane. Members apply online, complete an in-person appointment at an enrollment center, and pay a fee that covers a multi-year membership.
- Global Entry is geared toward international travelers and includes TSA PreCheck benefits. It requires an interview with Customs and Border Protection and is available to U.S. citizens, lawful permanent residents, and some citizens of partner countries.
- CLEAR is a separate, privately operated service that uses biometric data (fingerprints or iris scans) to verify your identity and move you to the front of the ID-check line. It operates alongside TSA PreCheck - not as a replacement for it.
Each program has its own eligibility rules, fees, and application process. Visit the official TSA or CBP websites to compare them before applying.
Enrollment Doesn't Guarantee Expedited Screening
Even with TSA PreCheck or Global Entry, the TSA reserves the right to direct any traveler through standard screening at any time. Expedited lanes may also be temporarily unavailable at smaller airports. Always budget enough time at security regardless of your enrollment status.
For a broader pre-departure checklist that includes confirming your ID status and other logistics, see our pre-trip confirmation checklist.