

Key Takeaways
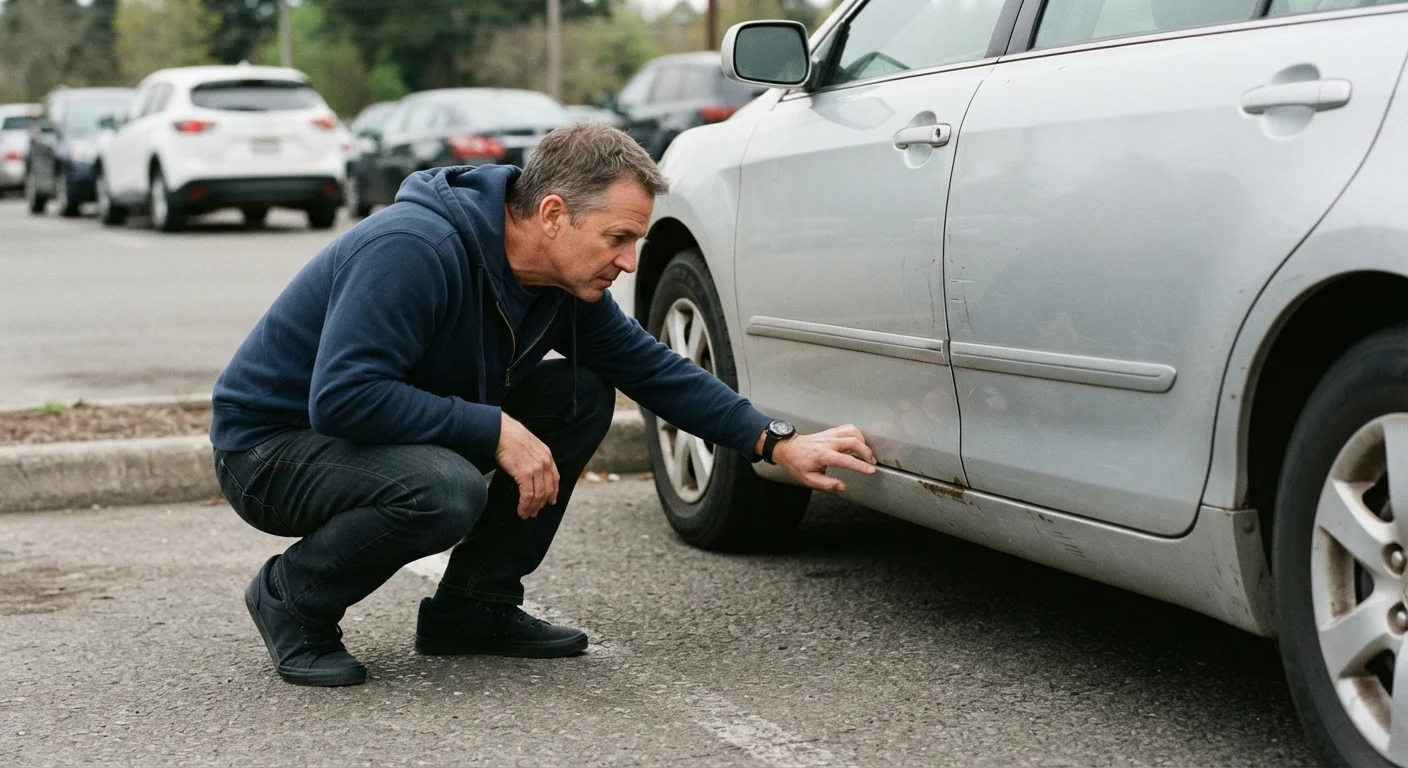
- Inspect the exterior in direct daylight to catch paint inconsistencies, rust, and body panel misalignment.
- Check under the hood for fluid leaks, corrosion, and signs of recent repairs that may mask deeper problems.
- Always take the car on a test drive that includes highway speeds and hard braking.
- Request a vehicle history report and, when possible, have an independent mechanic perform a pre-purchase inspection.
- Dashboard warning lights, unusual odors, and worn interior controls can all signal deferred maintenance.
Summary
24 items · 45-90 minutes on-site
Why a Thorough Inspection Matters
Buying a used car without a structured inspection is one of the most common ways consumers end up with unexpected repair bills. Unlike a new vehicle, a used car carries a history you can't fully know just by looking at the listing photos. Rust hidden under a fresh coat of touch-up paint, a transmission that slips at highway speed, or a salvage title that wasn't disclosed - these are the kinds of issues a careful walk-around and test drive are designed to surface.
You don't need to be a mechanic to use this checklist effectively. Most items require nothing more than your eyes, ears, and a few minutes of focused attention. For anything beyond your comfort level, a pre-purchase inspection (PPI) by an independent, licensed mechanic is money well spent - typically far less than a single major repair.
For a broader view of the entire purchase journey, see our complete car-buying walkthrough. If you're still weighing whether used is right for you, our comparison of new vs. used vehicles covers the real trade-offs.
Exterior Inspection
Under the Hood
Interior & Controls
Test Drive
Tools You'll Want On Hand
You don't need specialized equipment, but a few inexpensive items will make your inspection more thorough and give you greater confidence in what you find.
Flashlight or smartphone torch
Illuminate the undercarriage, wheel wells, and engine bay where natural light doesn't reach.
Vehicle history report (VIN-based)
Reveals prior accidents, title issues, odometer discrepancies, and service records linked to the specific vehicle.
OBD-II code reader
Plugs into the vehicle's diagnostic port to check for stored trouble codes, including those that may have been cleared to hide a warning light.
Tire tread depth gauge
Measures remaining tread depth precisely, helping you estimate how soon tires will need replacement.
Independent licensed mechanic (pre-purchase inspection)
Provides a professional assessment of mechanical condition, often revealing issues not visible to the untrained eye.
Before You Arrive: Do Your Homework
The physical inspection starts at the lot, but your due diligence begins before you get there. Pull the vehicle identification number (VIN) from the listing and run it through a vehicle history service. Understanding what that report actually tells you - and which entries are red flags - is a skill of its own. Our guide to reading a vehicle history report breaks down every section in plain language.
Also consider whether the vehicle is listed as a certified pre-owned (CPO) unit. CPO programs include their own manufacturer-conducted inspections and limited warranties, but the coverage varies significantly by brand. See our article on what CPO really covers before assuming that label guarantees peace of mind.
Never Skip the Pre-Purchase Inspection
A seller who refuses to allow an independent mechanic to inspect the vehicle before purchase is a significant red flag. A pre-purchase inspection by a qualified mechanic typically costs between $100 and $200 and can identify thousands of dollars in needed repairs. If the cost of the inspection gives you pause, consider that a single major repair - transmission, engine, or suspension - can easily exceed the vehicle's purchase price on an older car.
After the Inspection: Your Next Steps
If the car passes your checklist with few concerns, the next phase is negotiation and paperwork. Come prepared with specific questions about fees, add-ons, and any remaining warranty coverage - our article on questions to ask before signing gives you a focused list to bring to the table.
If the check engine light was on during your visit - even briefly - treat that as a mandatory follow-up item, not a minor detail. Our explainer on what a check engine light actually means explains how to interpret the signal before committing to the purchase. Any active warning light should be diagnosed by a qualified mechanic and factored into your offer or decision.
Don't Let Urgency Override Your Judgment
Sellers sometimes create a sense of time pressure by suggesting other buyers are interested. A vehicle that is genuinely sound will still be available after you've completed a thorough inspection and reviewed the history report. Committing quickly to avoid 'losing the deal' is one of the most common reasons buyers end up with problem vehicles. Take the time the process requires.