

Key Takeaways
- The right repair method depends on hole size - small, medium, and large holes each need a different approach.
- Joint compound must dry completely between coats; rushing this step causes cracking and uneven texture.
- Feathering compound edges and sanding smooth are the keys to an invisible, flush finish.
- Most drywall repairs require at least two to three coats of compound for professional-looking results.
- Matching wall texture before painting is what separates a patch that blends from one that stands out.
What you will need
Choosing the Right Repair Method for Your Hole
Not all drywall damage is the same, and the fix that works for a nail pop will leave a large hole looking worse. Before gathering supplies, identify which category your damage falls into.
- Nail holes and hairline cracks (under ½ inch): A single application of spackling compound or lightweight joint compound, pressed in with a finger or narrow putty knife, is all that's needed. Sand flush when dry.
- Small to medium holes (½ inch to 6 inches): These need a backing surface. Self-adhesive mesh patches or metal patch plates provide the support that compound alone cannot. Apply compound in layers over the patch.
- Large holes (over 6 inches): The most reliable fix involves cutting back to the nearest studs, installing a wood backer or a piece of new drywall, taping the seams with joint tape, and finishing with multiple compound coats.
If you're unsure whether a repair is within DIY scope - especially if there's water staining, soft drywall, or structural concerns - see our guide on when a simple fix is enough before starting.
Check for Wiring and Plumbing First
Before cutting into any wall, use a stud finder with AC wire detection or a non-contact voltage tester to check for electrical wiring behind the drywall. Water pipes and gas lines can also run inside walls. If your tester detects voltage or you suspect utility lines nearby, stop and consult a licensed electrician or plumber before proceeding.
What You'll Need
Gather your tools and materials before you start. Running out of supplies mid-repair can force you to rush the dry time - the most common reason patches crack or show seams.
Putty knife or drywall knife (4-6 inch)
Spreading and feathering joint compound smoothly over the repair area.
Sanding sponge or 120-grit sandpaper
Smoothing dried compound between coats and before painting.
Pre-mixed joint compound (all-purpose)
Filling the patch area and building flush layers over the repair.
Self-adhesive mesh patch or metal patch plate
Bridging medium holes (1-6 inches) that lack a solid backing surface.
Drywall saw or utility knife
Cutting away damaged drywall cleanly when installing a backer-board patch.
Primer
Sealing the patched area before painting to prevent bleed-through and uneven sheen.
Dust mask and safety glasses
Protecting against drywall dust and compound particles during sanding.
What you will need
Step-by-Step Repair Instructions
Follow these steps in order. The most common mistake homeowners make is skipping ahead before compound is fully dry - always check the manufacturer's stated dry time and confirm the surface is no longer cool to the touch before sanding or applying the next coat.
Prepare the Damaged Area
Remove any loose paper, crumbling gypsum, or protruding fasteners around the hole. For nail pops, drive the nail slightly below the surface with a hammer and nail set, then add a drywall screw 2 inches above and below to secure the panel back to the stud. Wipe the area clean of dust with a dry cloth.
Apply the Backing or Patch
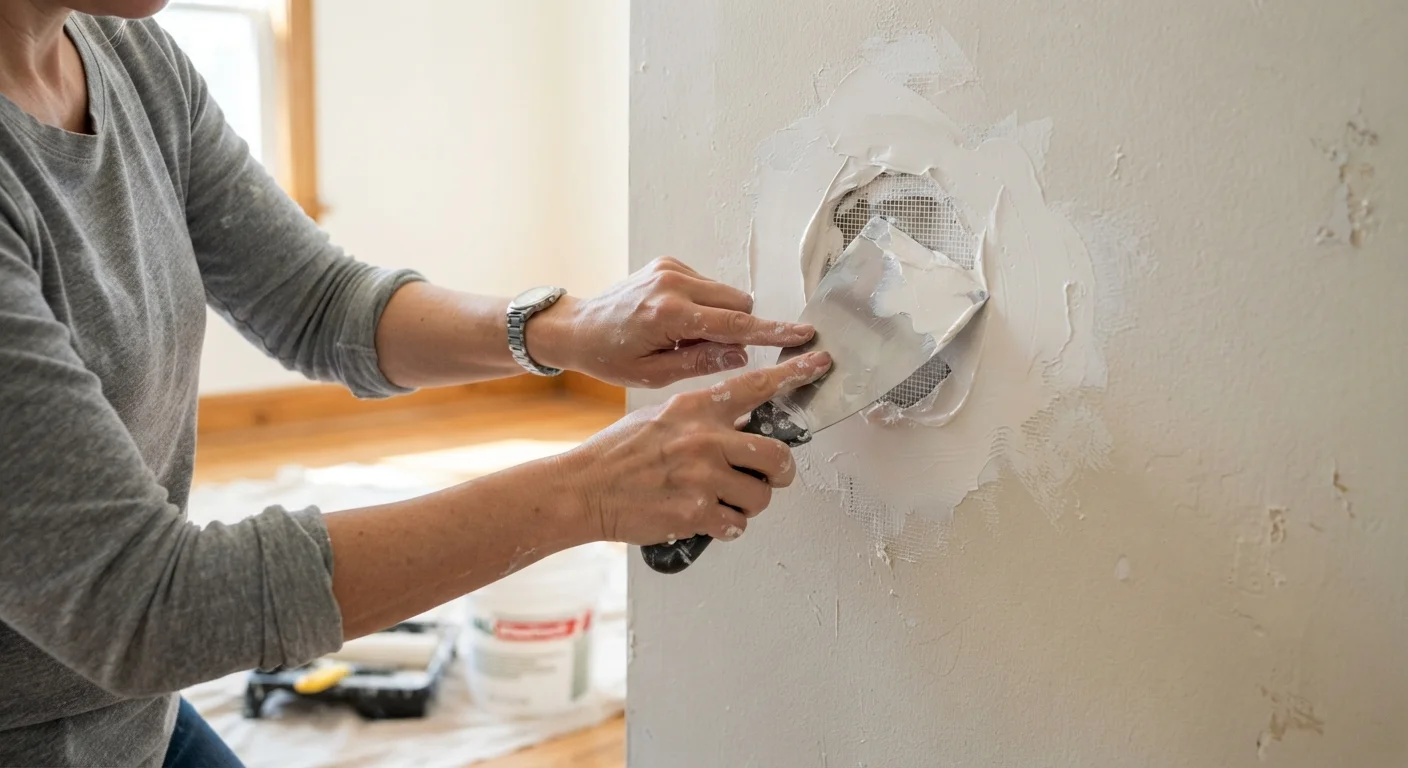
For holes up to 6 inches, peel and stick a self-adhesive mesh patch directly over the opening, centered so the mesh extends at least 1 inch past the hole's edge on all sides. Press firmly.
For holes larger than 6 inches: cut the damaged area into a clean rectangle using a drywall saw, then cut a wood backer (a piece of 1×3 or 1×4 lumber) slightly longer than the hole's height. Slip the backer through the hole, hold it flush against the back of the drywall, and drive drywall screws through the existing wall into the backer on both sides. Cut a drywall patch to fit the opening, attach it to the backer with screws, and apply paper joint tape along each seam.
Apply the First Coat of Joint Compound
Using a 4-6 inch putty knife, spread a thin, even layer of pre-mixed all-purpose joint compound over the patch. For mesh patches, press compound firmly into the mesh weave to fill any voids. For taped seams, embed the tape by spreading compound under and over it, smoothing it flat.
Feather the edges outward 2-3 inches beyond the patch so there's no hard ridge. Let dry completely - typically 24 hours at room temperature, though humidity and coat thickness affect this.
Sand, Then Apply Additional Coats
Once the first coat is fully dry, sand lightly with a 120-grit sanding sponge. You're not trying to reach bare wall - just knock down ridges and smooth tool marks. Wipe away dust with a dry cloth.
Apply a second coat, feathering the edges 2-3 inches wider than the first. For large patches or deep voids, a third coat may be necessary. Each coat should be thinner than the last. Finish by sanding the final coat with 120-grit, then 220-grit for a glass-smooth surface.
Prime and Inspect
Apply a coat of drywall primer over the repaired area and let it dry. Once primed, inspect the patch under raking light. If you see low spots, depressions, or visible seam lines, apply a thin skim coat of compound, let it dry, sand again, and re-prime. Catching these imperfections now costs far less effort than repainting a finished wall.
Thin Coats Outperform Thick Ones
Applying joint compound in thin, even coats rather than one heavy coat prevents cracking and speeds overall dry time. Each layer should be slightly wider than the last - this feathering technique is what makes patches disappear under paint.
Finishing, Texturing, and Painting
A smooth patch that doesn't match the surrounding wall texture will still be visible after painting. Before priming, compare your repair area to the rest of the wall under raking light (a flashlight held at a low angle works well). Common textures and how to replicate them:
- Flat/smooth: Sand the final coat with 120-grit, then follow with 220-grit. Feather edges carefully.
- Orange peel: Apply thinned joint compound through a spray gun or aerosol texture can, holding it at the distance specified on the label. Practice on cardboard first.
- Skip trowel or knockdown: Dab compound lightly with a sea sponge or trowel, then flatten the peaks slightly with a clean knife before it fully sets.
Once the texture matches, apply a coat of drywall primer before painting. Primer seals the porous compound and prevents the patched area from absorbing paint differently than the surrounding wall - a phenomenon called flashing that leaves dull spots even after two coats of paint. For more on surface prep, see our guide to interior wall painting prep.
If at any point the damage is larger than expected, tied to recurring moisture, or involves framing issues, weigh whether to call a pro rather than pushing through a repair that won't hold.