

Key Takeaways
- Surface preparation accounts for the majority of a paint job's quality and longevity.
- Cleaning, repairing, and priming walls before painting prevents peeling, cracking, and uneven coverage.
- Skipping steps like filling holes or applying primer leads to visible defects that paint cannot hide.
- Proper masking and protection of trim, floors, and fixtures saves hours of cleanup time.
- Different wall conditions - new drywall, patched areas, stained surfaces - each require specific prep approaches.
Why Prep Work Makes or Breaks a Paint Job
Most DIY paint jobs that look streaky, peel within a year, or show every old crack and bump share one root cause: inadequate preparation. Paint is a finish coat, not a filler - it conforms to whatever surface is underneath it. Bumps, grease, dust, and unpatched holes don't disappear under a coat of paint; they telegraph right through.
Professional painters routinely spend more time preparing a room than actually painting it. That proportion isn't inefficiency - it reflects a basic truth about how paint adheres and performs. If you invest your effort where it counts most, the application stage becomes fast and forgiving.
Before swinging a brush, it also helps to understand whether your walls have larger issues. Our room-by-room readiness checklist can help you assess structural or moisture concerns before you commit to painting over them.
Best Practices for Preparing Interior Walls
Follow these proven steps in order. Each one builds on the last - cutting corners early forces more work later.
Clean all wall surfaces thoroughly before any other prep step
Dust, grease, and grime prevent paint and primer from bonding properly to the wall. Even a wall that looks clean to the eye can carry enough residue to cause adhesion failures. Cleaning first also means you're not spreading contaminants as you sand or patch.
Inspect and repair every crack, hole, and imperfection before priming
Paint has no ability to bridge gaps or smooth depressions - it will highlight them under raking light. Addressing every imperfection before you open a paint can means you won't discover problems after the job looks nearly done.
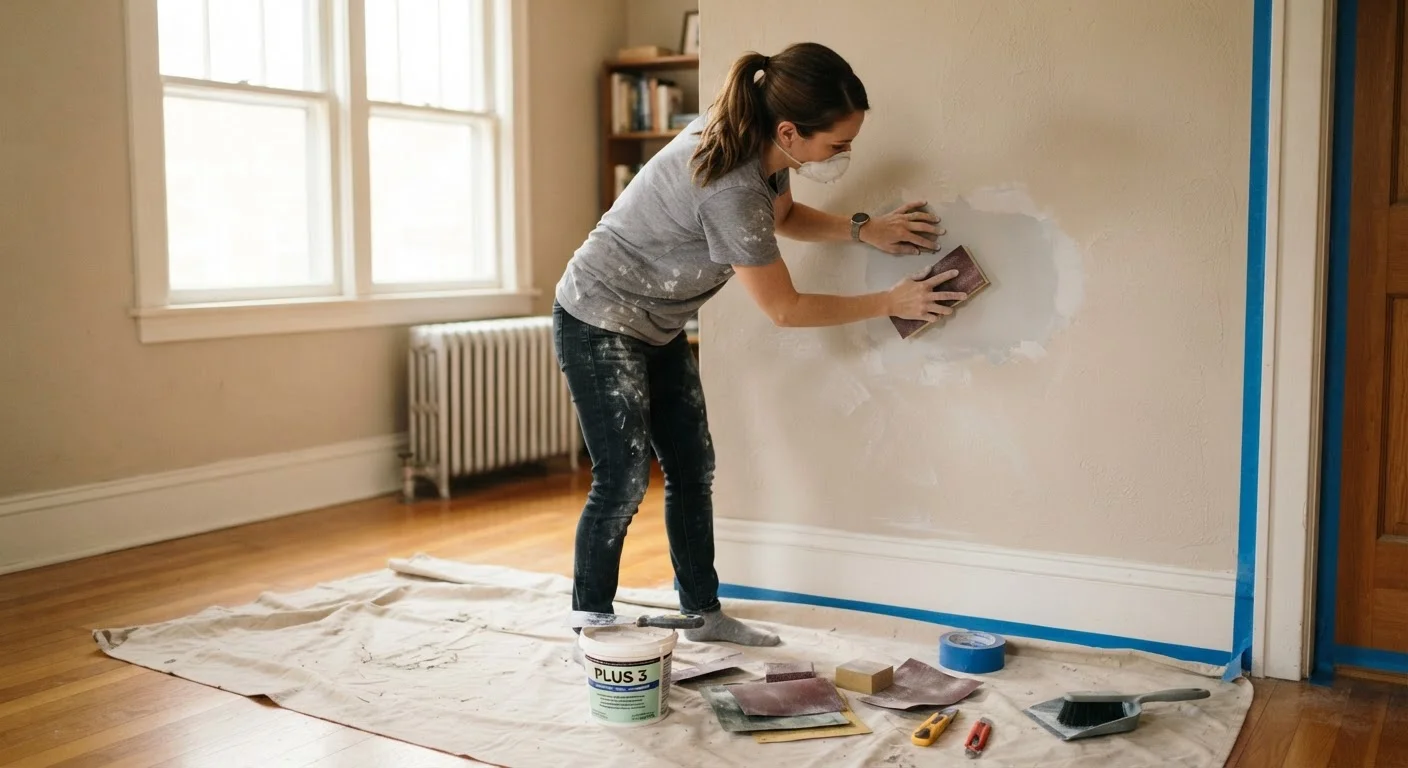
Sand patched areas and previously painted walls to create a uniform surface
Sanding knocks down any raised edges around patches, scuffs glossy existing paint so new paint can grip it, and smooths out minor texture inconsistencies. Skipping this step is one of the most common reasons a repaint looks uneven in different lighting.
Apply the appropriate primer for your specific wall condition
Primer seals the surface, evens out porosity between patched and unpatched areas, and gives paint a consistent base to bond to. Using the right type of primer for the situation - drywall, stain-blocking, or high-hide - prevents blotchiness and reduces the number of finish coats needed.
Mask all trim, outlets, and adjacent surfaces with painter's tape
Careful masking protects finished surfaces and lets you paint quickly without anxiety about stray strokes. It is far faster to tape correctly than to scrape dried paint off baseboards, window casings, or outlet covers afterward.
Let every prep layer - cleaning, compound, and primer - dry completely before proceeding
Applying paint or a second compound coat over a surface that hasn't fully dried leads to bubbling, cracking, and adhesion failures that appear days or weeks later. Patience at each stage is what creates a durable finish.
Quick Wins You Can Do Right Now
Even if you're not ready for a full paint project, these immediate actions will set you up for a better result when you are.
For holes larger than a nail pop or small dent, check out our guide on patching holes without calling a pro before proceeding to paint. And if you're unsure whether a crack or stain signals a bigger problem, our article on when a drywall fix is enough can help you decide your next move.
Common Mistakes That Undermine All Your Hard Work
Even careful DIYers fall into a few predictable traps during wall prep.
- Skipping the wash: Kitchen and bathroom walls accumulate grease and soap film that repels paint. A wipe-down with a TSP substitute (trisodium phosphate alternative, available at hardware stores) or a mild degreaser is non-negotiable in those rooms.
- Painting over water stains without a stain-blocking primer: Standard primers won't stop stain bleed-through. Use a shellac- or oil-based stain blocker on water, smoke, or tannin stains - then topcoat with your chosen paint.
- Sanding too little or not at all after patching: Patching compound shrinks slightly as it dries, leaving a slight depression. Feathering the edges with 120-150 grit sandpaper, followed by a skim of compound if needed, is what gets a patch truly flush.
- Pulling tape off too late: Painter's tape left on more than 24 hours after painting can bond to the dried surface and peel off paint with it. Remove tape while the paint is still slightly tacky for the cleanest edge.
When to Involve a Professional
If you discover widespread mold behind paint, significant water damage, or cracks that reopen after patching, those are signs of an underlying structural or moisture issue that prep work alone won't solve. Painting over active mold or unresolved water intrusion can create health hazards and will not hold up long-term. In those cases, consult a licensed contractor or remediation specialist before proceeding with any cosmetic work.
Taking the time to avoid these errors separates a paint job that looks good on move-in day from one that holds up through years of normal use.